
- Vehicle Parts Accessories
- Brand
- Model
- Seller Warranty
- Type
- 2-post Lift (12)
- Air Compressor (24)
- Air Diesel Heater (19)
- Awnings (17)
- Body Parts (11)
- Body Shell (25)
- Boot Liner (59)
- Bumper (51)
- Chassis (30)
- Front Side Window (48)
- Headlight Assembly (12)
- Heaters (11)
- Kitchen Equipment (17)
- Power Inverter (13)
- Running Board (12)
- Seat Cover (83)
- Standard (12)
- Summer (14)
- Turbo Actuator (11)
- Vehicle Lift (18)
- Other (5360)
- Vehicle Type
- Warranty Period
Complete Campervan Insulation Kits SWB, MWB, LWB, LWB Maxi, Jumbo
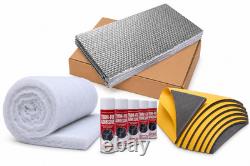
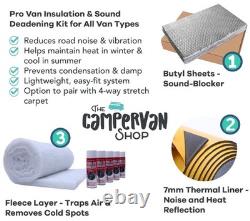
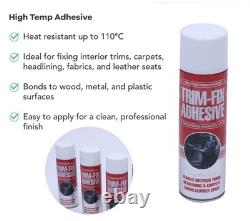
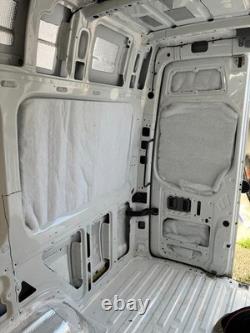
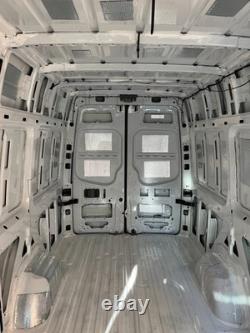
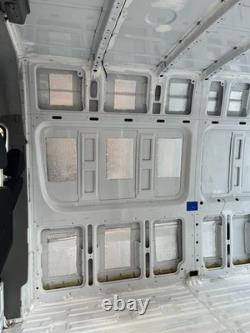
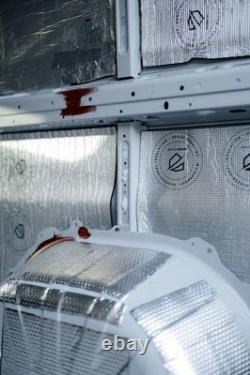
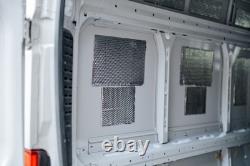




The Ultimate Van Insulation Bundle. (For Small, Medium, Large & Extra-Large Vans). Create a professional-grade insulation system that keeps your campervan warm, quiet, and condensation-free all year round. This kit has been expertly designed with condensation prevention at its core.
Inside a van, warm, humid air often meets cold metal surfaces, leading to moisture build-up that can cause corrosion, mould, and insulation failure over time. To stop this, your insulation must be thick enough to keep the metal above the dew point, paired with a reliable vapour barrier that prevents moisture from reaching colder areas.
Our kit exceeds the minimum 6 mm insulation typically required under UK conditions, delivering superior thermal protection and long-term moisture control. When properly sealed on the warm side, it forms a continuous, airtight barrier that prevents condensation and heat loss.
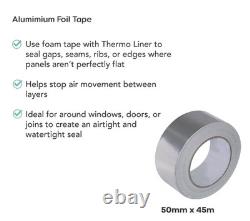
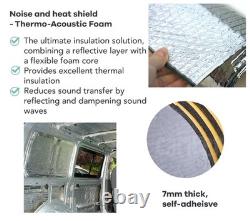
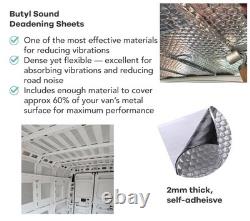
Suitable for all van sizes, this complete system combines four high-quality materials that work together seamlessly to maximise comfort, efficiency, and protection in your conversion. Dense and flexible vibration-damping sheets that reduce road noise and panel resonance. Installed directly onto the metal shell, they convert vibration energy into heat, making the van quieter and more solid. Only small sections are needed - typically 50-60% coverage of flat panels. A multi-purpose insulation layer providing thermal, acoustic, and vapour control. It prevents condensation by keeping internal surfaces above the dew point while also reflecting heat back into the living space. The foil-faced, self-adhesive backing makes installation quick and airtight. Lightweight, breathable insulation used to fill cavities and framework voids.It traps air for improved warmth and sound absorption without holding moisture. Unlike natural fibres, it won't rot, mould, or release odours over time. Seals all seams and joins in the Thermo Liner, forming a continuous vapour barrier. Also prevents warm, moist air from entering hidden spaces where condensation could form.
Creates a professional, airtight finish for long-term durability. THESE KITS INCLUDE INSULATION TO COVER THE WALLS & FLOOR AS PER THE BELOW TABLE. Small - VW Caddy, Ford Transit Connect, Berlingo. Medium - VW T6, Transit Custom, Vivaro, Trafiic.
Large - Sprinter MWB, Ford Transit L3, Boxer L2. Extra Large - Sprinter L4, Ducato L4, VW Crafter. Jumbo - Iveco Daily, Ducato L4, Sprinter XLWB L4. 700mm x 15m + 2 adhesive. 700mm x 20m + 2 adhesive. 700mm x 25m + 3 adhesive. 700mm x 25m + 4 adhesive. 700mm x 30m + 4 adhesive.The below guide explains how to correctly install butyl sound deadening, Thermo Liner, fleece insulation, and foil tape to reduce noise, regulate temperature, and prevent condensation and moisture damage in your van. 7mm Thermo Liner (closed-cell foam). Cleaning wipes / degreaser e. Clean all metal surfaces - remove dust, oil, and residue with degreaser or alcohol wipes. Check for rattles - lightly tap large panels; note any areas that sound "tinny" or hollow.
Ensure the surface is dry before applying any materials - moisture trapped beneath layers can cause corrosion. Step 2 - Apply Butyl Sound Deadening Sheets. Reduce vibration and road noise from large metal panels. Apply only to large, flat areas such as doors, side panels, and rear quarters - no need to cover 100%.Press down firmly and use a roller to smooth out air bubbles. Of each large panel - focus on central flat areas.
Avoid ribbed or reinforced sections, as they're already structurally damped. Step 3 - Install Thermo Liner (Closed-Cell Foam). Provide thermal insulation, moisture control, and additional acoustic absorption. Measure and cut the Thermo Liner to fit panels, doors, and roof sections. Peel back a small section of the adhesive liner and start from one corner. Smooth down gradually with your hand or roller to prevent air pockets.Overlap edges slightly and seal every join with foil tape to create an airtight vapour barrier. For curved areas wheel arches, pillars, etc. , make relief cuts for a snug fit.
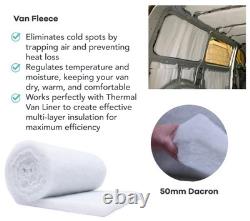
Step 4 - Add Fleece Insulation. Trap air in cavities for additional warmth and sound absorption. Tuck the fleece into voids, ribs, and framing cavities that can't be covered with Thermo Liner.
Avoid compressing it too tightly - air pockets improve insulation performance. Use spray adhesive to hold it in place if necessary. Keep it clear of wiring channels, vents, or areas where panels will screw back on. Step 5 - Final Check.
Check all surfaces are smooth and fully adhered. Ensure no exposed metal remains.
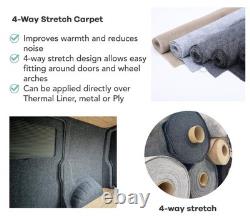
Replace any removed trim, wiring, or panels. You can now move on to carpet lining, cladding, or flooring. Butyl sound-deadening sheets (vibration reduction). Thermo Liner (closed-cell foam) (thermal + vapour barrier). Fleece insulation (fill cavities for warmth and noise absorption). Foil tape (seals Thermo Liner joints). Lining or cladding carpet, ply, etc.